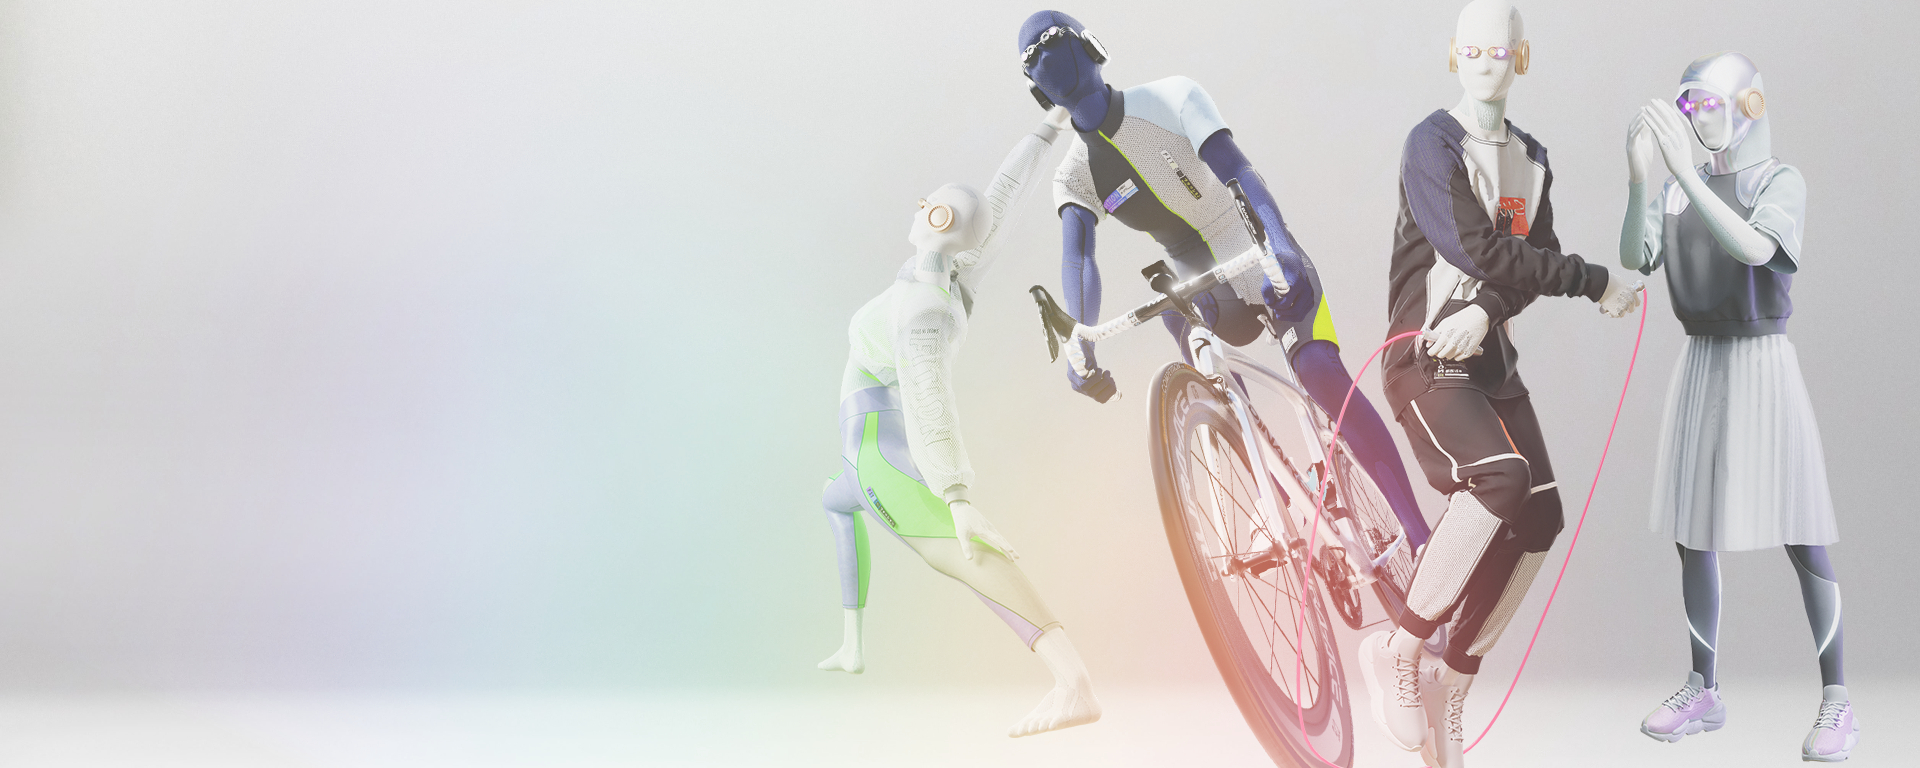
Taking garments into the metaverse with dual LOD
As NFTs spread, interest extended beyond generative art and PFPs to characters and clothing for the metaverse.
I was creating digital fashion in Marvelous Designer. Turning a garment into a usable asset still required mesh merging, UV arrangement, materials and rigging. Even with a free tool such as Blender, doing that conversion manually was difficult. I began working on a fully automated pipeline to lower this barrier for UGC creators.
Mesh: dual level of detail
For real-time garments, I needed to retain the silhouette while reducing triangle count. My target at the time was 4,000–8,000 triangles. I exported the original high-density model and a low-poly version separately from CAD, using the two levels of detail for different purposes.
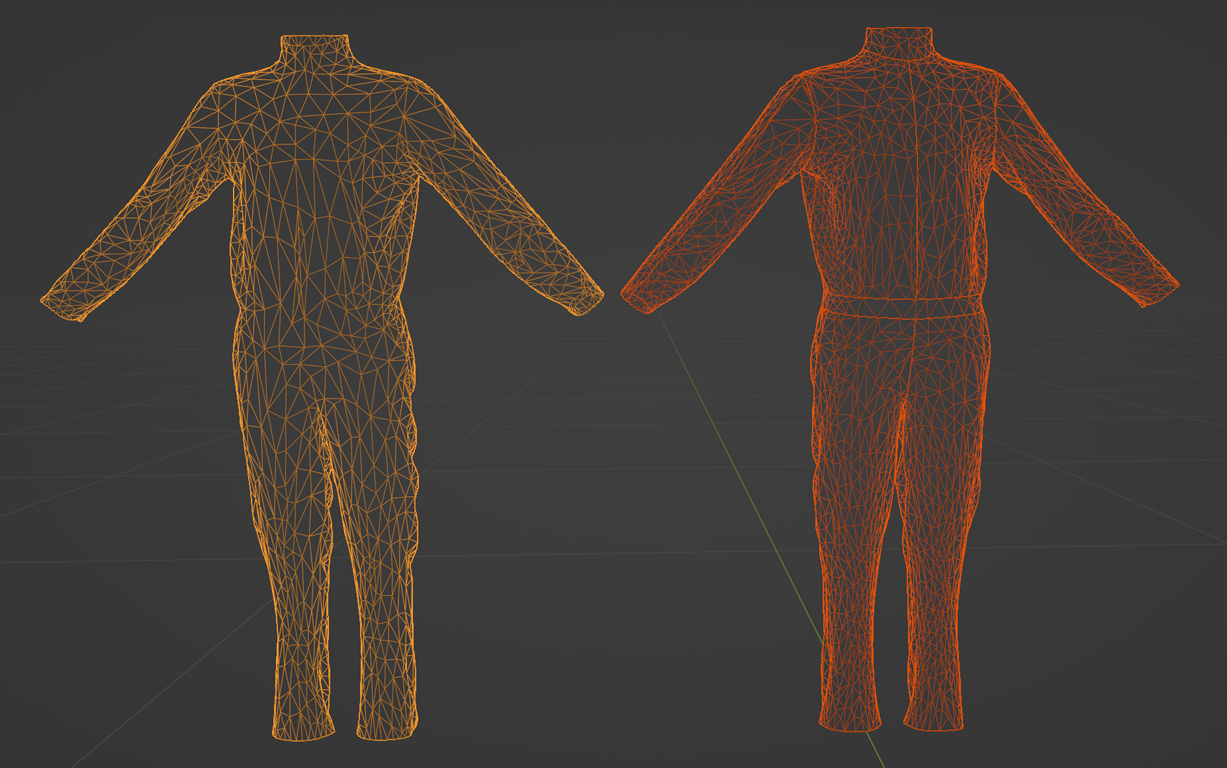
Decimating without accounting for seams damages the pattern boundaries. This comparison shows why preserving those outlines matters.
Materials: adaptive normal detail
Preserving correspondence between patterns lets the original geometry contribute to the normal map. I used that correspondence to transfer detail without relying on ray casting.
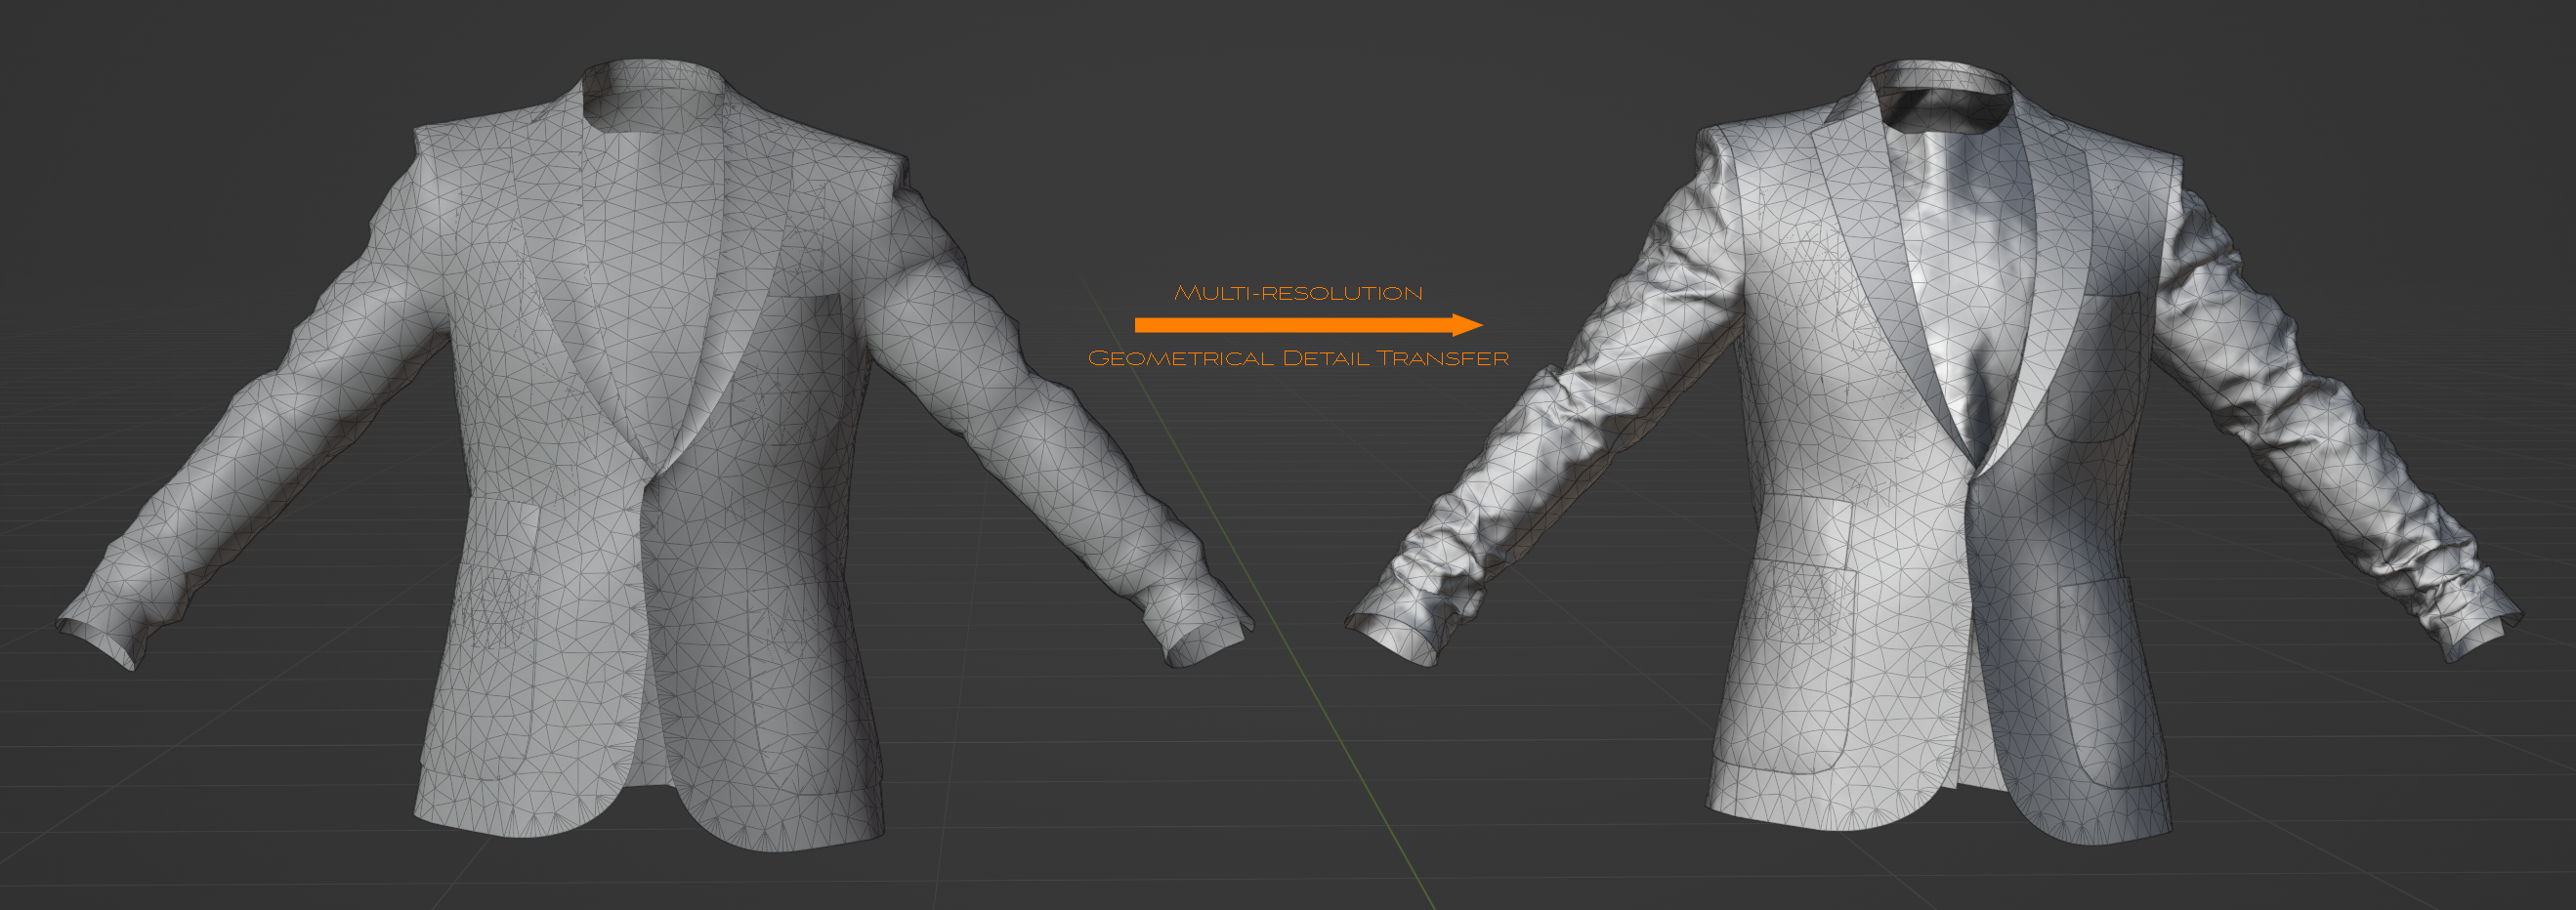
From the original shape to low-poly representations at multiple resolutions: lighter geometry, with surface information retained.
Materials: additional detail
1. Apparent thickness
Thickness in the original model did not always produce clearly visible seams after conversion. I used the outlines of the UV patterns to reinforce the appearance of seams and edge thickness.
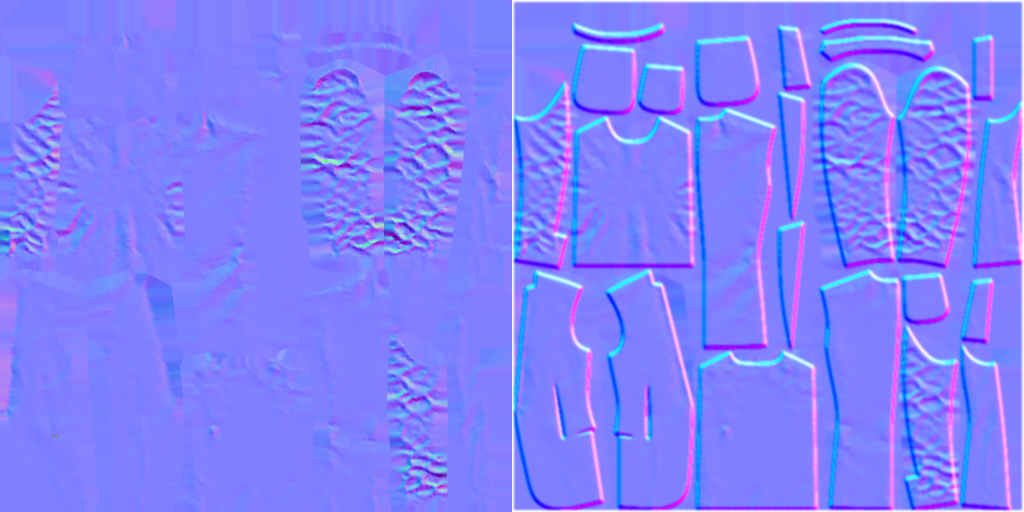
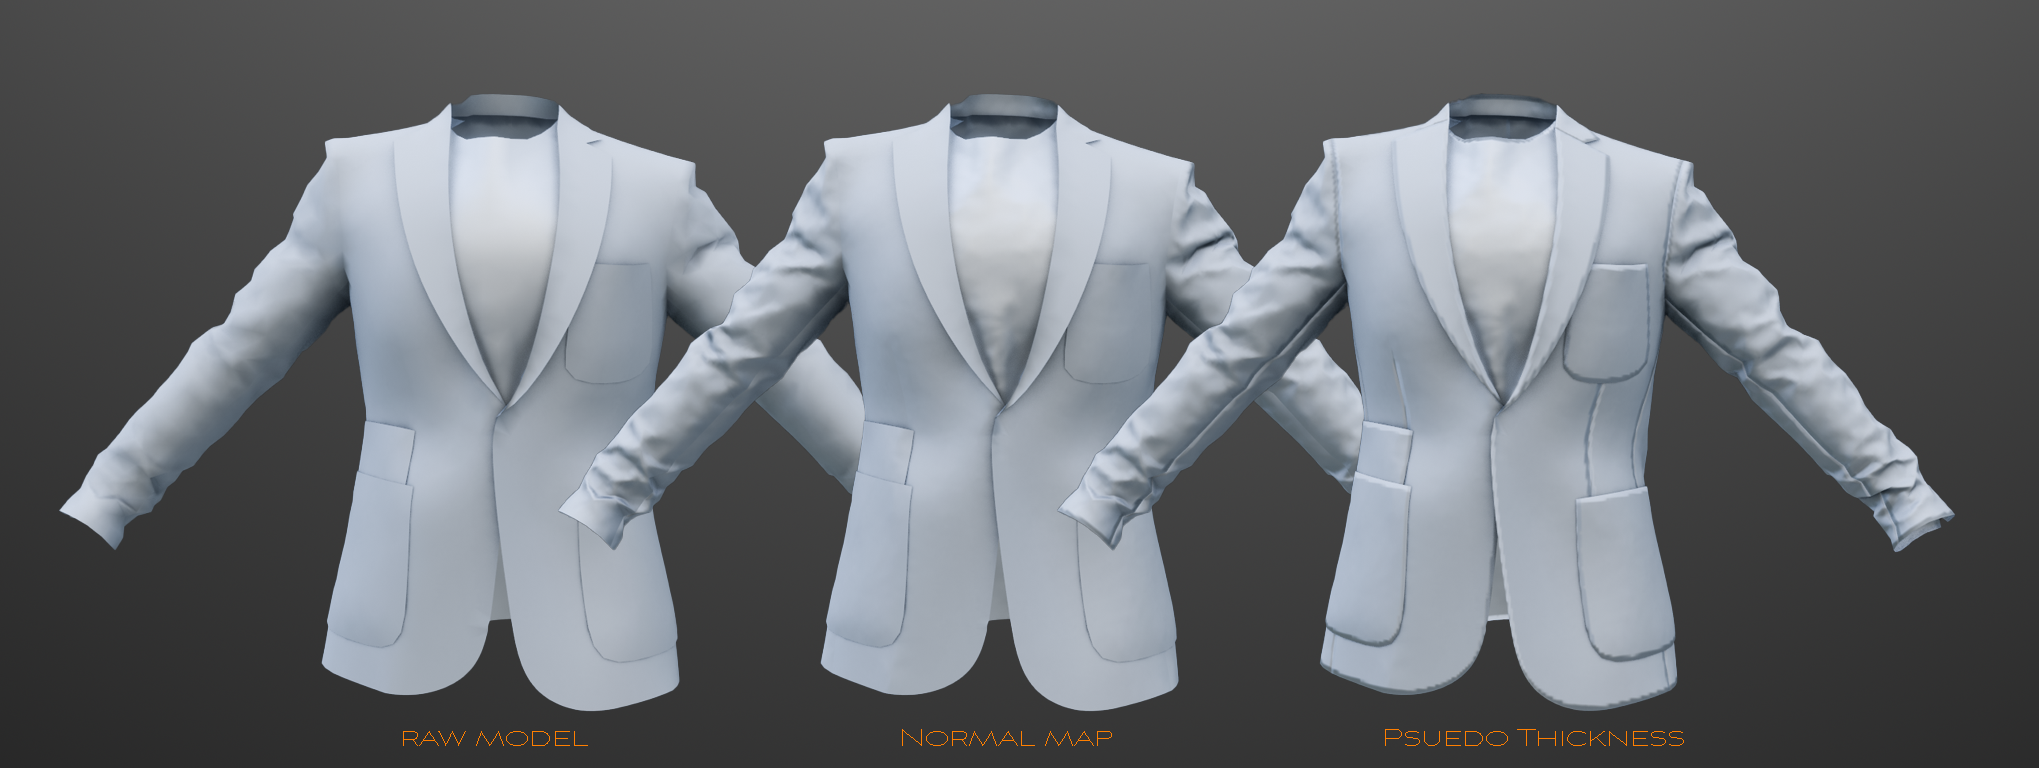
This example uses 6,000 triangles and a 512 × 512 normal map.
Adding apparent thickness brings volume back to the lightweight model.
2. AO and curvature for non-PBR shaders
Passing a PBR albedo directly to shaders such as Unlit or Phong can lose the character of the wrinkles. I combined AO and curvature to carry their shading and shape into the diffuse map.
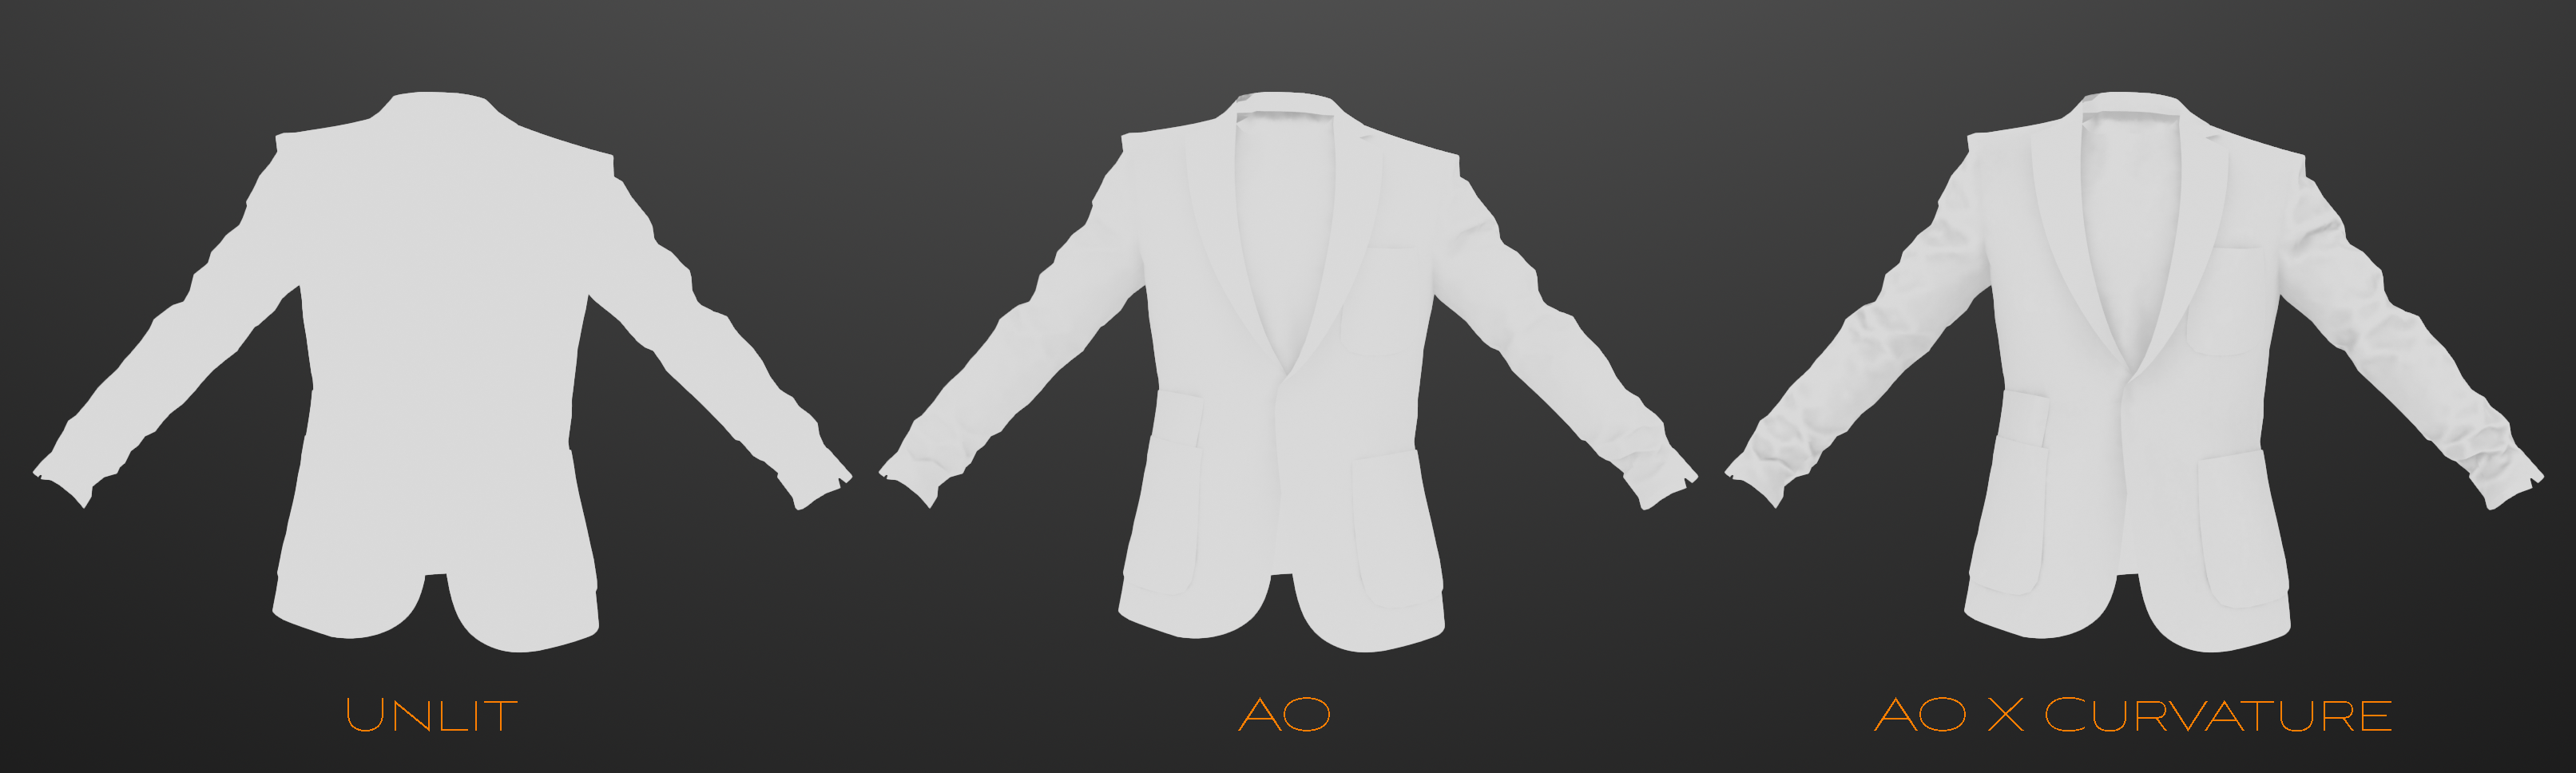
The aim was to retain a sense of the garment’s form and wrinkles even in non-PBR rendering.